Home Lab - Setting Up
At the end of 2025 I decided that I wanted to build a home lab. Not for anything fancy or specific, but to hone my system administration skills, do some security labs, and use it as a file storage system (AWS bill is getting expensive).
Hardware
Here were my requirements for the lab:
- Be able to launch atleast 1 virtual machine
- Stay under a 35W load at all times (thank you City of Tallahassse Utilities)
- Run reliably and stay available
- 16gb Memory
- Minimum 128gb SSD internal storage.
From here I picked the HP EliteDesk 800 G2, i5-6500T @ 2.50GHz 16GB RAM 256GB SSD.
With this, I decided to pick up a OWS 3.5” SATA RAID 1 Dual Bay Enclosure as well as two Western Digital 1tb HDDs.
I wanted RAID 1 mirroring for the following reasons:
- Reduncancy
- I don’t trust old HDDs, if one fails, the other is still GTG
- Read performance
- I plan on having 2 active users (myself and my roomate)
- Simple recovery
- If drive A fails, B is fine, I can replace A with C (new drive)
All of this came to $176 from eBay, which I think is pretty good
- ED 800 g2 -> $100
- OWS Enclosure (USED) -> $36
- 2 1tb HDDs -> $40
All of this, of course, took forever to come in the mail. As of writing this I am still waiting on the 2 hard disks, so I’ll have to set up the RAID mirroring at a different point in time.
Operating System
This is where I was a bit stuck. On one hand, I really want to use Proxmox, but that kinda defeats the purpose of the whole “my own cloud” thing. On the other hand, I really like Debian, Ive been using Debian distros almost exclusively for ~3 years, their Debian 13 LTS is fantastic and I know my way around very well, so I caved and decided on Debian 13. Who even needs fancy VM and conatiner hosting? And could this Proxmox box even spawn more than 1 at a time (answer is no).
Regardless, I can still spawn virtual machines on Debian, its just a little harder to configure from the CLI.
I wanted something super lightweight (sorry GNOME), so I decided on a headless Debain 13 Server. I don’t have an extra monitor to spare, and I only expect myself to SSH in, using it from primarily from my PC and MacBook (maybe my phone too if I feel special), so headless Debian is the best option for me.
Setup
This was kind of painstaking I can’t lie. I obviously need to see what is going on, so I have to set it up from the monitor in my room. Problem? the ED doesnt have a Wi-Fi card, the router is on the other side of the wall, and I have neither a long ethernet cord nor the patience to order one from Amazon. Why not just use an external network adapter? The TP Link adapter that I have requires special drivers, that I can’t install until after setup.
Where does that leave me?
Ethernet tethering machine-to-machine is NOT the future (let me tell you). I want to thank Microsoft for making the process of adding the machine to my private network on my Windows 11 PC unnecessarily difficult. Also, it ruins the ability to auto DHCP and requires me to do it manually (ask me how I know).
After spending an hour on figuring that out, I finally had a nice, clean installation of Debain 13:
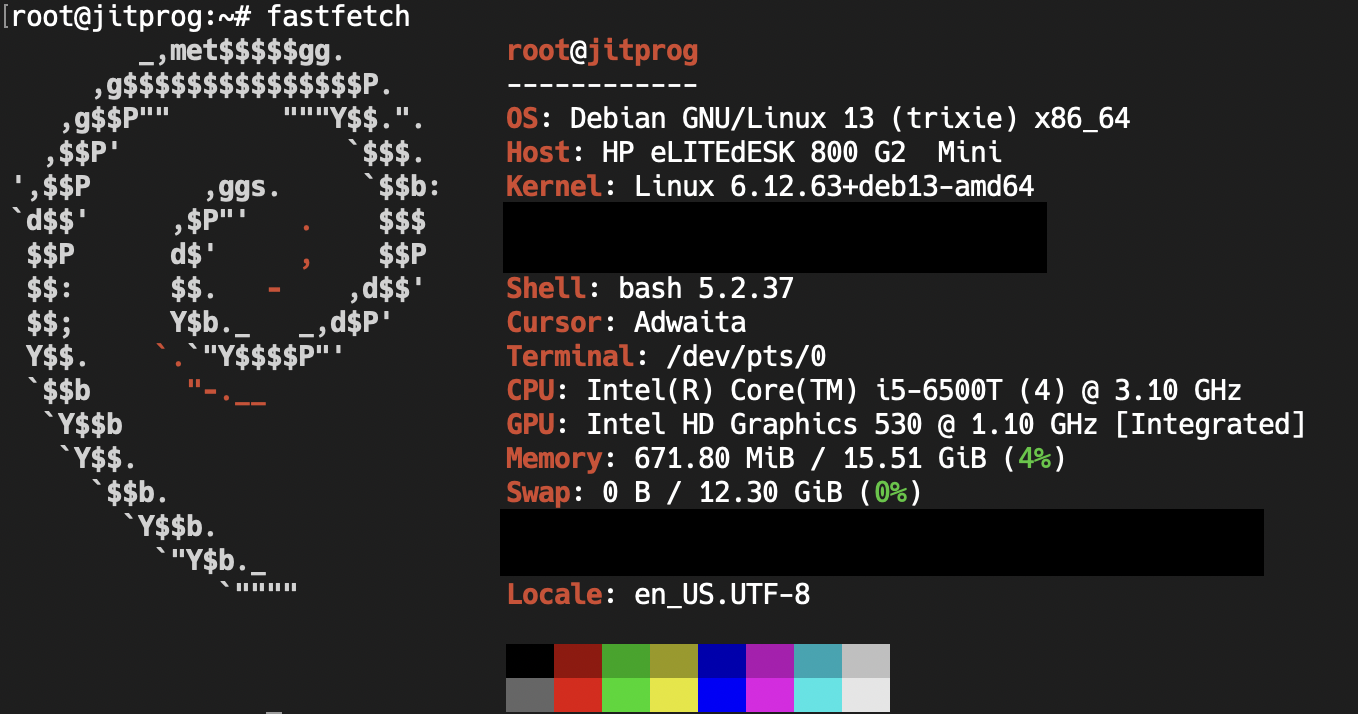 kind of a lie, took this screenshot just now lol. jitprog iykyk
From here I did some set up SSH keys (and successfully SSHd), software installation, added and configured users, locked down the firewall, etc.
Software
The one thing that I think really makes a difference is Cockpit.
Cockpit is a web interface for linux servers. It is like a newer looking version of Webmin minus a few features.
So why use Cockpit over Webmin? Answer: Virtual Machines.
cockpit-machines has a fantastic interface that works with libvirt, QEMU, and KVM to give a overall decent interface. Webmin has Cloudmin, but it kind of sucks.
Here is what Cockpit looks like: 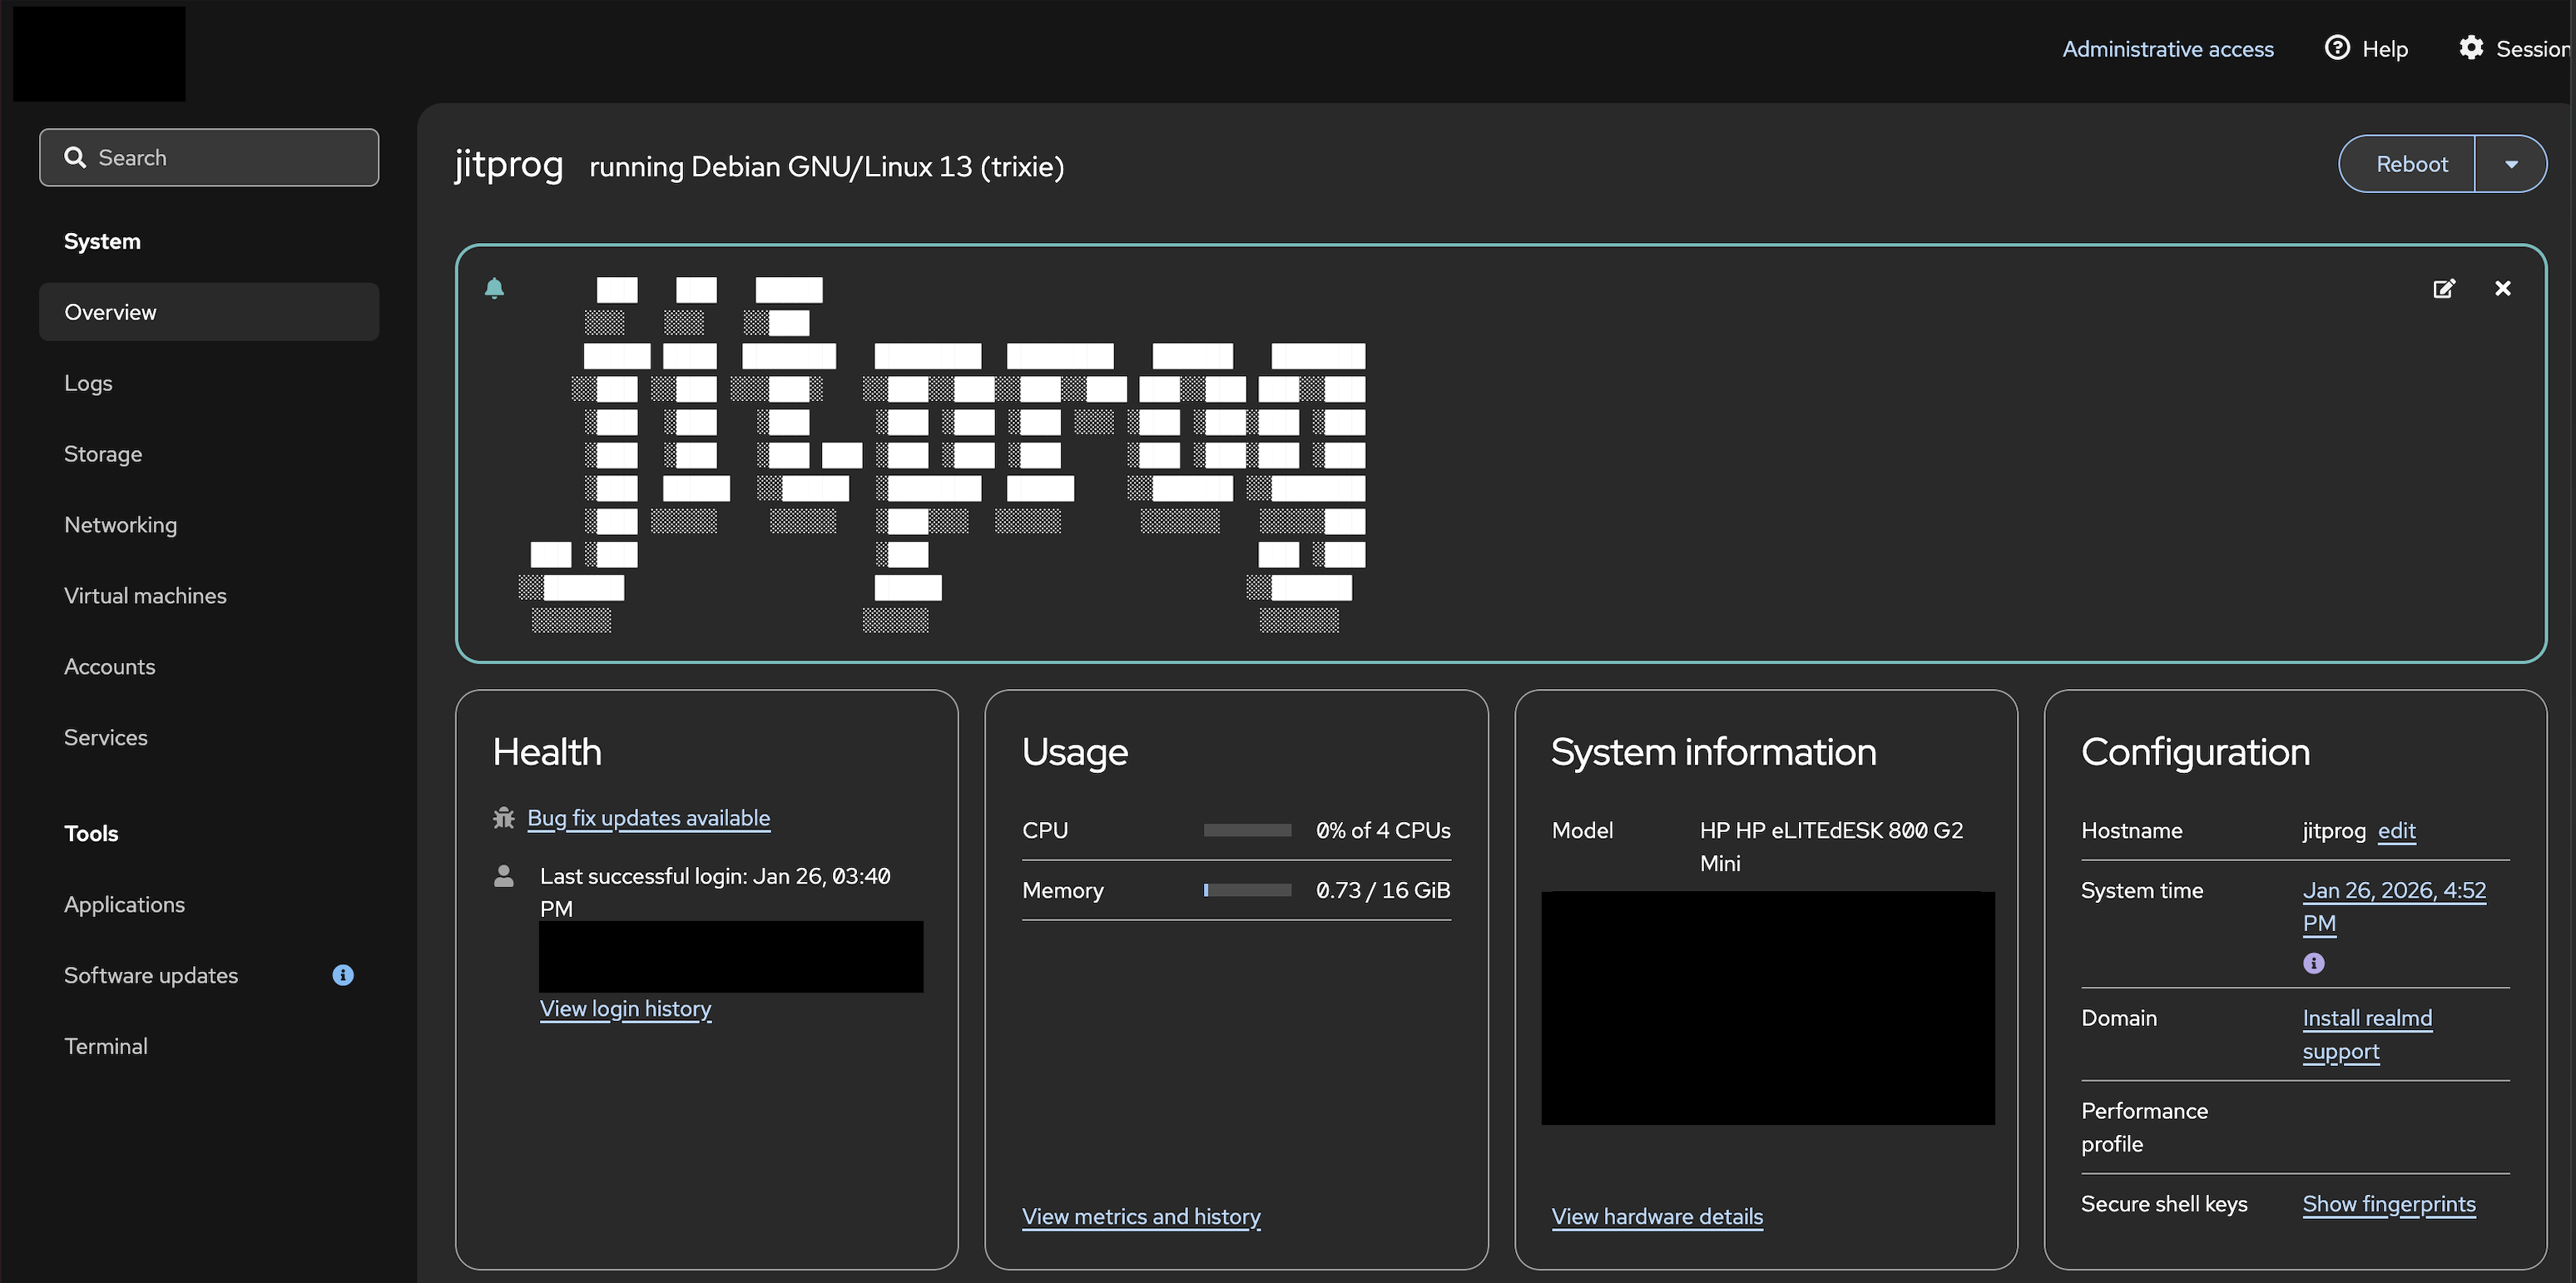 Cockpit Home
 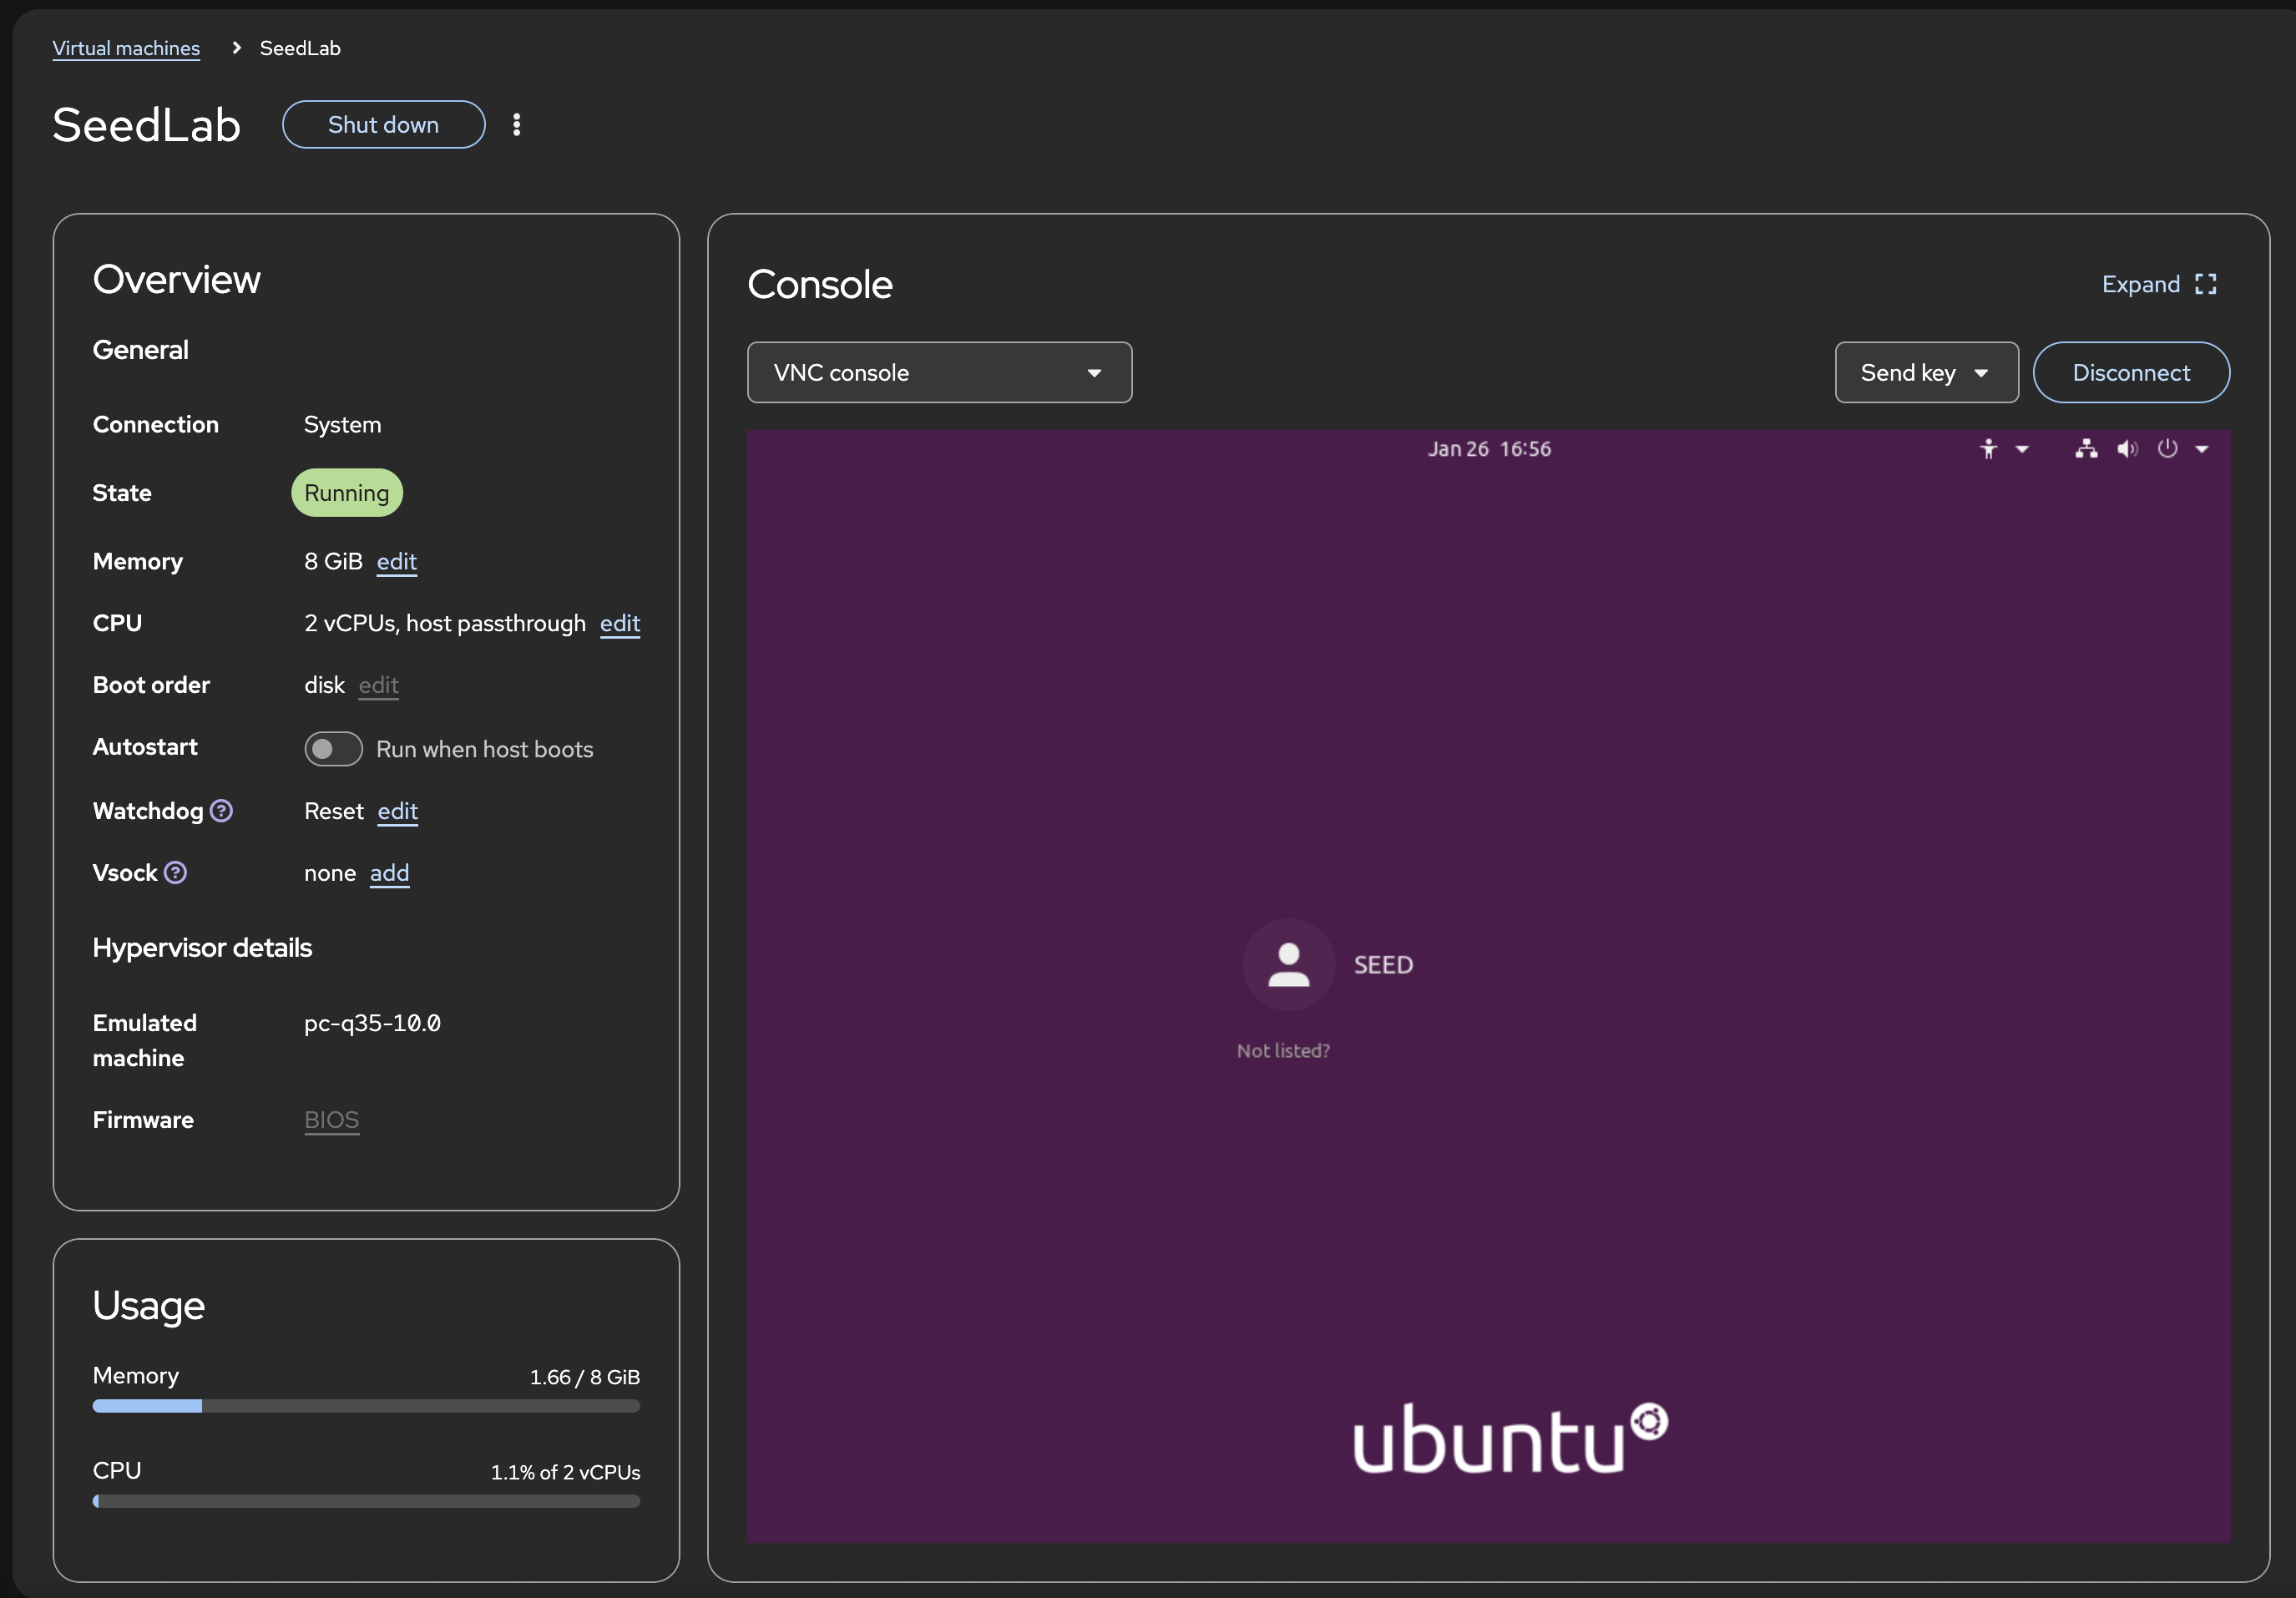 Cockpit VM Interface
One of the last things I did was add the machine to my Tailscale network. Tailscale is a VPN built on WireGuard that creates a secure mesh network between my devices, making them accessible as if they were on the same LAN regardless of their physical location. I’m using it to securely access my home lab from anywhere without exposing ports or dealing with dynamic DNS, while also keeping everything isolated from my main home network for security.
Finish
The lab is now partially set-up. I am still waiting on those drives, but once they arrive I will get started on setting up a full remote file server.